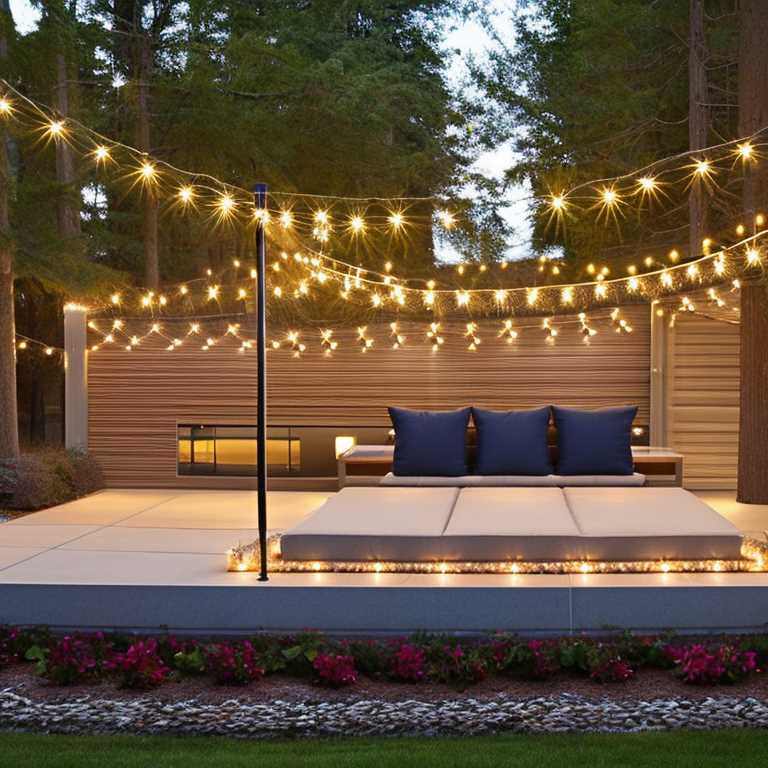
How to make string light pole

String lights are the perfect way to create a cozy and inviting atmosphere in your outdoor living space. One way to achieve this is by installing string light poles. These poles are easy to make and can be customized to match the style of your outdoor area. In this article, we will guide you through the process of making your own string light poles.
Materials Needed
To make string light poles, you will need the following materials:
– 4” x 4” pressure-treated wood posts (8-10 ft long)
– Concrete mix
– Large bucket or wheelbarrow
– Post hole digger or auger
– Level
– Tape measure
– Drill
– 1/2” drill bit
– Eye bolts (1 per pole)
– S-hooks (1 per pole)
– String lights
Step 1: Determine the Location and Height of the Poles
The first step in making string light poles is to determine where you want them to be placed. These poles work best when placed at the corners of your outdoor living space, but you can also place them along the edges if you prefer.
Once you have determined the location, measure the height at which you want the poles to be installed. A height of 8-10 feet is ideal for most outdoor spaces.
Step 2: Dig the Holes
Using a post hole digger or auger, dig holes that are about 2 feet deep and 1 foot wide. The holes should be spaced at the same distance as the length of your wood posts, which is usually 8-10 feet. Make sure that the holes are level and evenly spaced.
Step 3: Mix the Concrete
Mix the concrete in a bucket or wheelbarrow according to the instructions on the bag. The concrete should have a consistency similar to that of pancake batter.
Step 4: Pour the Concrete
Pour the concrete into the holes, filling them about halfway. Place the wood posts into the holes, making sure that they are level and evenly spaced. Hold the posts in place while someone else fills the remaining space in the holes with concrete.
Step 5: Allow the Concrete to Cure
Allow the concrete to cure for at least 24 hours before attaching the eye bolts.
Step 6: Attach the Eye Bolts
Using a drill and a 1/2” drill bit, drill a hole about 1 inch from the top of each wood post. Screw the eye bolts into the holes using a wrench or pliers.
Step 7: Hang the String Lights
Attach the S-hooks to the eye bolts and hang the string lights from them. Make sure that the lights are evenly spaced and that they are not touching any trees or other objects.
Step 8: Enjoy Your New String Light Poles
Your new string light poles are now complete! Sit back, relax, and enjoy the cozy and inviting atmosphere that they create in your outdoor living space.
Tips for Making String Light Poles
– Choose pressure-treated wood posts to ensure that they are weather-resistant and will last for a long time.
– Use a level to ensure that the posts are straight and evenly spaced.
– Make sure that the concrete is mixed properly and that the posts are held in place until the concrete has cured.
– Choose eye bolts that are sturdy and can support the weight of the string lights.
– Use S-hooks to hang the lights from the eye bolts. These hooks are easy to attach and remove.
– Make sure that the string lights are rated for outdoor use and that they are plugged into a GFCI outlet to ensure safety.
String light poles are a great way to add ambiance to your outdoor living space. They are easy to make and can be customized to match the style of your home. By following the steps outlined in this article, you can create your own string light poles and enjoy the cozy and inviting atmosphere that they create.