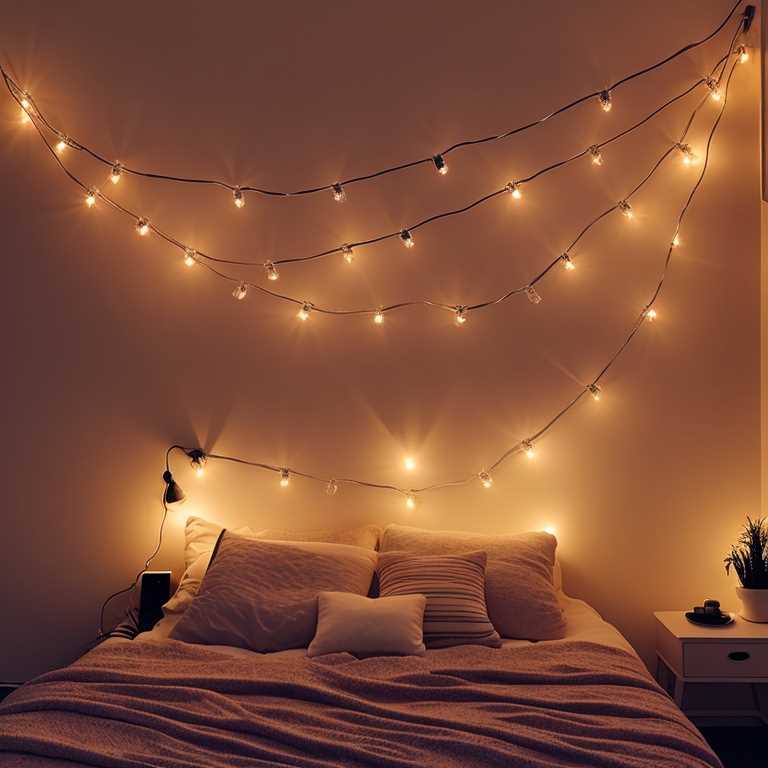
How to tell which light is out on string lights

String lights are a popular decoration for outdoor and indoor events. They create an enchanting and cozy atmosphere, especially during the holiday seasons. However, with time, some lights may burn out, which can be frustrating when trying to locate the faulty bulb. In this article, we will discuss how to tell which light is out on string lights and how to replace it.
1. Inspect the String Lights
The first step in identifying the faulty bulb is to inspect the string lights. Check the lights for any physical damage, such as broken wires or bulbs. If you notice any damage, it is best to replace the entire string light. However, if there is no physical damage, proceed to the next step.
2. Plug-in the String Lights
Plug-in the string lights and turn them on. Observe the string lights carefully, and you may notice that one section of the string lights is not lighting up. It is a clear indication that the faulty bulb is in that section of the string lights. However, if the string lights do not light up at all, it could be a sign of a bigger problem. Check the fuse or the outlet.
3. Divide and Conquer
Unplug the string lights and divide them into smaller sections. For example, if the string lights have 50 bulbs, divide them into five sections of ten bulbs each. It will make it easier to locate the faulty bulb. Plug-in one section of the string lights at a time to identify the section with the faulty bulb.
4. Wiggle the Bulbs
Sometimes, the faulty bulb may be loose, causing it not to light up. Wiggle the bulbs gently and observe if any of them light up. If a bulb lights up, it is a clear indication that it is faulty and needs replacement.
5. Use a Test Lighter
If you cannot identify the faulty bulb by visually inspecting the string lights, you may use a test lighter. A test lighter is a small device that helps to identify the faulty bulb. Plug the string lights into an outlet and turn them on. Use the test lighter to touch the base of each bulb gently. If the bulb lights up, it is working correctly, and you may move to the next one. However, if the bulb does not light up, it is faulty and needs replacement.
6. Replace the Faulty Bulb
Once you have identified the faulty bulb, it is time to replace it. Make sure to purchase a bulb that matches the wattage and voltage of the original bulb. Use a bulb puller to remove the faulty bulb gently. Insert the new bulb into the socket and turn it clockwise until it fits correctly. Test the string lights to ensure that the new bulb is working correctly.
7. Prevent Future Burnouts
To prevent future burnouts, it is essential to take proper care of your string lights. Here are some tips to help you keep your string lights in good condition:
– Do not leave your string lights on for extended periods. It can cause the bulbs to overheat and burn out.
– Store your string lights in a dry and cool place. Moisture and heat can damage the wires and bulbs.
– Handle your string lights gently. Tugging or pulling on the wires can damage the bulbs and cause them to burn out.
– Replace the entire string lights if you notice any physical damage. It is better to be safe than sorry.
Identifying the faulty bulb on string lights is not rocket science. With proper inspection and a few tools, you can identify and replace the faulty bulb in no time. Remember to take proper care of your string lights to prevent future burnouts. Happy decorating!