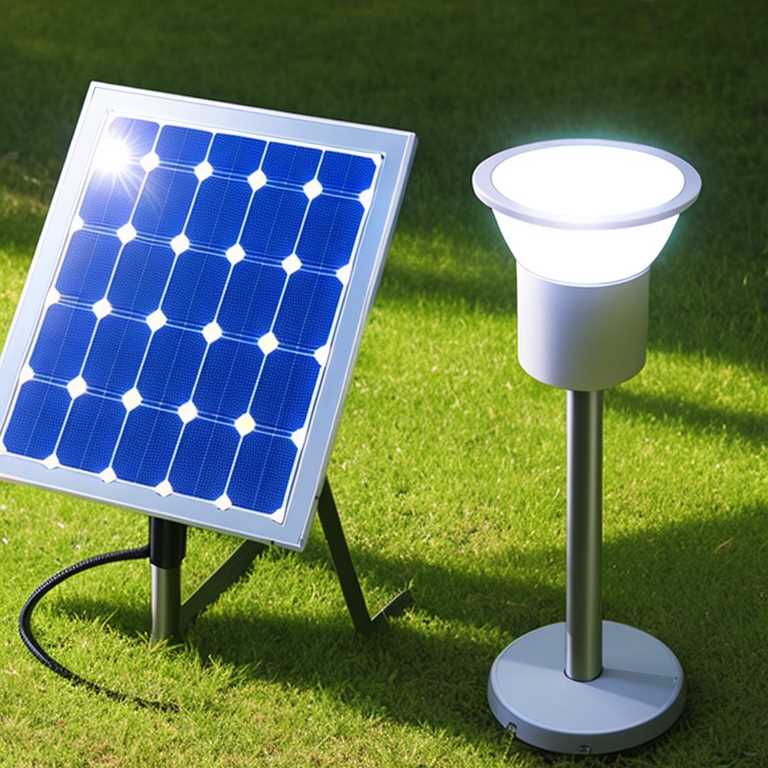
How to wire a solar panel to a led light

The use of solar panels and LED lights has been on the rise in recent times, owing to the various benefits that they offer. One of the most significant advantages of using solar panels to power LED lights is that it is a renewable source of energy, which is both eco-friendly and cost-effective. In this article, we will look at how to wire a solar panel to a LED light to help you get started on this exciting journey.
Before we dive into the details, it is essential to understand the basic components required for this project. The first and most crucial component is the solar panel, which is responsible for converting sunlight into electrical energy. The second component is the LED light, which consumes this electrical energy to produce light. The third component is the battery, which stores the electrical energy generated by the solar panel during the day and provides power to the LED light at night.
Now, let's look at the steps involved in wiring a solar panel to a LED light:
Step 1: Choose the Right Solar Panel
The first step is to choose the right solar panel for your LED light. The size of the solar panel you choose will depend on the amount of power you need to generate to power your LED light. For instance, if you have a 10W LED light, you will need a solar panel that can generate at least 20W of power to ensure that the battery is fully charged during the day.
Step 2: Calculate the Battery Capacity
The next step is to calculate the battery capacity required to store the electrical energy generated by the solar panel during the day. To do this, you need to know how many hours of sunlight are available in your area and how many hours of light your LED light will consume. For instance, if you live in an area that receives 6 hours of sunlight per day and your LED light consumes 4 hours of light per night, you will need a battery capacity of at least 24Ah.
Step 3: Connect the Solar Panel to the Battery
The next step is to connect the solar panel to the battery. To do this, you need to use a charge controller, which helps regulate the amount of electrical energy flowing from the solar panel to the battery. The charge controller also ensures that the battery is not overcharged, which can damage the battery.
Step 4: Connect the Battery to the LED Light
Now that you have connected the solar panel to the battery, the next step is to connect the battery to the LED light. You can do this by using a DC-DC converter, which helps convert the DC voltage from the battery to the required voltage for the LED light. The DC-DC converter also helps protect the LED light from voltage fluctuations, which can damage the LED light.
Step 5: Test the System
The final step is to test the system to ensure that everything is working correctly. To do this, you need to turn on the LED light and check if it is receiving power from the battery. You can also check the battery voltage using a multimeter to ensure that it is fully charged.
Wiring a solar panel to a LED light is a simple and straightforward process that anyone can do. However, it is essential to choose the right components and follow the steps outlined above to ensure that the system works correctly. By following these steps, you can enjoy the benefits of using solar energy to power your LED light, including reduced energy costs, eco-friendliness, and improved energy security.