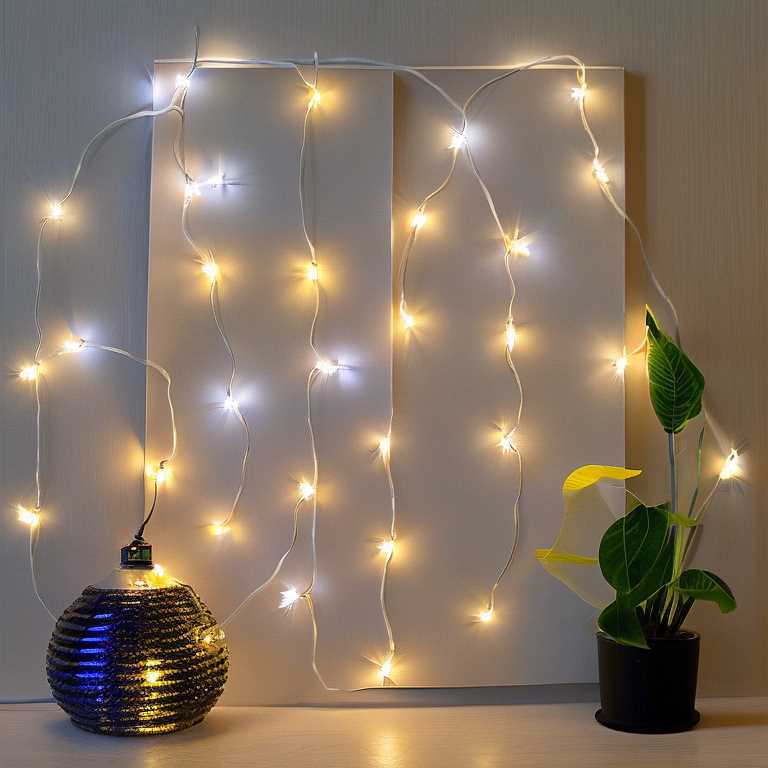
How to repair led light string

LED light strings are an excellent way to add some festive ambiance to your home, especially during holidays. However, like any other electronic device, LED light strings can malfunction, and when they do, it can be frustrating. Fortunately, repairing an LED light string is not as daunting as it may seem. With a few tools and a little bit of patience, you can easily fix your LED light string and have it shining brighter than ever before.
Before you begin repairing your LED light string, it is crucial to identify the problem. There are several reasons why your LED light string may not be working correctly, including a blown fuse, a broken bulb, or a faulty socket. Start by inspecting the string for any visible damage, like broken or missing bulbs, frayed wire connections, or loose sockets.
Once you have identified the problem, it's time to gather the necessary tools for repairing your LED light string. You will need a pair of wire cutters, a soldering iron, electrical tape, and replacement bulbs. You can purchase replacement bulbs at any hardware store or online. Make sure to buy bulbs that match the voltage and wattage of the original bulbs.
The first step in repairing your LED light string is to check the fuse. The fuse is a safety mechanism that prevents the current from flowing through the string if there is an electrical overload. If the fuse is blown, replace it with a new one. The fuse is usually located near the plug. Simply twist the fuse holder counterclockwise and replace the fuse with a new one.
If the fuse is not the problem, the next step is to check the bulbs. Broken or missing bulbs can cause the entire string to stop working. Start by removing the damaged bulb, making sure to handle it gently to avoid damaging the socket. Check the socket for any damage or corrosion, and replace it if necessary.
When replacing the bulb, make sure to use a bulb that matches the voltage and wattage of the original bulb. Carefully insert the new bulb into the socket, making sure it is secure. If the bulb is loose, it may not make proper contact, causing the string to malfunction.
If the bulbs are not the problem, the next step is to check the wire connections. Frayed or loose wire connections can cause the string to stop working. Start by unplugging the string and inspecting the wires for any damage or corrosion.
Use wire cutters to remove the damaged section of wire and strip the ends of the wire. Twist the stripped ends of the wire together, making sure the connection is secure. Solder the connection, and wrap it with electrical tape to protect it from moisture and damage.
If the socket is faulty, you will need to replace it. Start by unplugging the string and removing the damaged socket. Cut the wires near the socket and strip the ends of the wires. Use a soldering iron to attach the new socket to the wires, making sure the connection is secure. Wrap the connection with electrical tape to protect it from damage.
Once you have repaired your LED light string, it's essential to test it before plugging it back in. Plug the string into a power source and turn it on. Make sure all the bulbs are working correctly and that the string is shining brightly. If everything is working correctly, unplug the string and store it in a safe place.
Repairing an LED light string may seem daunting, but it is relatively easy with the right tools and a little bit of patience. Start by identifying the problem, whether it's a blown fuse, broken bulb, or faulty socket. Once you have identified the problem, gather the necessary tools, and get to work. Check the fuse, replace any broken or missing bulbs, repair any frayed wire connections, and replace any faulty sockets. Test the string before plugging it back in, and make sure everything is working correctly. With these simple steps, your LED light string will be shining brightly in no time.