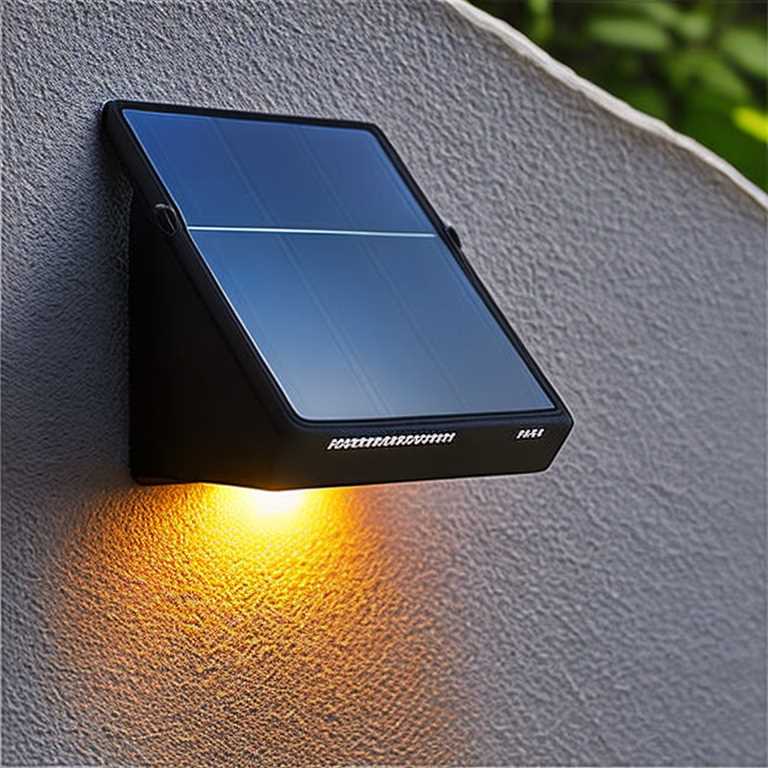
How to fix solar light sensor

Solar lights are a great way to light up your garden or outdoor space without adding to your electricity bill. They are powered by sunlight and have a built-in sensor that turns on the light when it gets dark outside. However, sometimes the sensor can malfunction and the light may not turn on or stay on for too long. In this article, we will discuss how to fix solar light sensor issues and get your solar lights working again.
1. Clean the solar panel
The first step in fixing a solar light sensor issue is to clean the solar panel. Over time, dirt, dust, and other debris can accumulate on the solar panel, reducing its ability to absorb sunlight. This can cause the sensor to malfunction and prevent the light from turning on or staying on.
To clean the solar panel, use a soft cloth or sponge and some soapy water. Gently wipe the panel to remove any dirt or debris. Be careful not to scratch the surface of the panel as this can damage it and reduce its efficiency.
2. Check the battery
Another common cause of solar light sensor issues is a faulty or dead battery. If the battery is not holding a charge or is completely dead, the light may not turn on or stay on for long.
To check the battery, open the solar light and remove the battery. Use a battery tester to check the voltage of the battery. If the voltage is low or the battery is dead, replace it with a new one.
3. Adjust the sensor
Sometimes the solar light sensor may be too sensitive or not sensitive enough. This can cause the light to turn on or off at the wrong time, or not turn on at all.
To adjust the sensor, locate the sensor on the solar light. This is usually a small black or silver box near the solar panel. Use a small screwdriver to adjust the sensitivity of the sensor. Turn the screw clockwise to make the sensor more sensitive and counterclockwise to make it less sensitive.
4. Check the wiring
If the solar light sensor issue is still not resolved, it may be a problem with the wiring. Over time, the wiring can become loose or damaged, preventing the light from turning on or staying on.
To check the wiring, open the solar light and inspect the wiring for any signs of damage or loose connections. If you find any, use a soldering iron to fix the connections or replace the damaged wiring.
5. Replace the sensor
If none of the above steps work, it may be necessary to replace the sensor. This is a more advanced fix and may require some technical knowledge.
To replace the sensor, open the solar light and locate the sensor. Carefully remove the old sensor and disconnect any wiring. Install the new sensor and reconnect the wiring. Make sure to test the light to ensure that the new sensor is working properly.
Solar light sensor issues can be frustrating, but they are usually easy to fix. By following the steps outlined in this article, you can get your solar lights working again and enjoy the benefits of solar-powered lighting. Remember to clean the solar panel, check the battery, adjust the sensor, check the wiring, and replace the sensor if necessary. With these simple steps, you can fix most solar light sensor issues and enjoy a well-lit outdoor space.